Pages

Showing posts with label how to. Show all posts

Tuesday, November 6, 2012

How to Get Rid of Fruit Flies

I had the opportunity to get away this past weekend for almost three days with a bunch of women for a retreat.  It was so special to just get some time away and relax, and my amazing husband took care of both of our girls so that I was able to go.  He fed them, bathed them, played with them, read to them- everything I could hope for, and I am so grateful for him.  One thing that does not happen, though, when I am gone, is healthy eating.  (They all, apparently, think Cinnabon for dinner is a good idea!)  :)  I do actually think it is just fine for them to do that every now and again, but when I came home, the fresh fruit that had been sitting around had started to gather fruit flies.

Because we have so much fresh produce sitting around all the time, fruit flies are an issue we deal with from time to time.  I have done a lot of research online, and tried many methods of getting ride of them, and I have come up with what is, for us, the quickest, easier, and surest way to get rid of them.


Gather a jar, cup, bowl or other such container, some red wine vinegar and some dish soap.  I have heard the saying "you can catch more flies with honey than with vinegar" but I no longer believe it, red wine vinegar works like a charm.


Just add several tablespoons of vinegar to your container, then add in some dish soap.  One or two drops is probably all that's needed, but I always want to be extra sure that I catch them, so I add one or two teaspoons.  There is no need to measure, just eyeball it.  

The flies are drawn to the vinegar, then because the soap had broken the surface tension, they drown.  Just set it out where you have fruit flies, and wash it out or throw it away when it's done it's job.  Easy as that!

Tuesday, October 30, 2012

How to Menu Plan... And a Free Printable

Have you always wanted to menu plan, but didn't know where to start?  I have always had a menu plan, but now that I have so much fresh produce on hand, I find it is crucial for me to plan out my meals, or it all ends up going to waste.  Here is a quick breakdown of how I menu plan.  I hope it helps.

First, there are some things I buy in bulk and always have on hand.  Once a year, we get together with friends to buy and split half of a grass fed cow.  So, we always have beef in the freezer.  I also have staples like brown rice, quinoa, dried beans, spices, etc, so I don't often have to go buy those.

Next, once a week I get a big box of produce.  It is full of lots of fresh, seasonal fruits and vegetable that I want to work into my menu plan this week, so I don't waste any of it.

Once I look through it and a see what's there, I sit down with my menu plan worksheet to map it all out.  I start by writing down anything on my calendar that would affect how I plan my meals (because I am so forgetful, and need the help remembering things like dinner with friends, birthdays, etc.)

Next, I actually list all of the produce I got that week, as well as anything else I need to use up.  If I don't list it, I tend to loose a cucumber in the back of the fridge, or some sweet potatoes in the bottom of the produce drawer, and not remember them until they are no longer recognizable.

Once I have everything listed out, I start to fill in my menu plan, crossing things off as I use them up.  If I have a lot of bananas, I might plan banana smoothies for breakfasts, and bananas for snacks on a few days.  Between meals, smoothies, and snacks, I try to account for all my produce each week (except for things that keep well, like potatoes and onions.)  I usually plan one day for leftovers, to eat up anything we had extra of throughout the week.  I keep my grocery list with me, and when I put something on my menu plan, I make sure I have it on hand, if not, I add it to my grocery list.

Menu planning this way (based on what I have, rather than the other way around) saves me a lot of money each week.  If you plan out seven yummy sounding dinners, then have to go buy every ingredient for those, you will have a very expensive shopping trip.  However, if you are planning around what you have, and only shopping to fill in the gaps, you grocery bill will go down,and you will waste less food.

Here is a sample of what my menu plan for a typical week might look like:


And that's all there is to it!  You can download my menu plan template here, and start your menu planning tonight!  Good luck!

Do you have any tried and true menu planning methods that have worked for you?  I would love to hear your ideas!

Sunday, October 28, 2012

World's Easiest Guacamole - And How to Prevent Avocados From Turning Brown


I found these delicious mini avocados for only $0.20 each at a local produce stand, so we get to indulge in guacamole tonight with dinner.  (Avocados are a healthy fat- but it is still a lot of fat, so guacamole is an indulgence to be enjoyed in moderation.)  This is not so much a recipe for guacamole as a quick tip on how to make it if you don't have all the ingredients.  Here's what you need: Avocados, and your favorite salsa.  Yep- that's it!  There are many good guacamole recipes out there, but for when you don't have the ingredients or don't want to buy them, this works great!

World's Easiest Guacamole
2 large Avocados (or 3-4 small ones)
2-3 TBS of your favorite salsa (homemade is great, but store bought will do.)
Salt to taste (I like pink Himalayan Sea Salt)


Cut avocados in half, then use your knife to pop out the pit, setting it aside.  And you don't really need one of those nifty tools to get the flesh out of the avocado, just cut it in quarters and use your fingers to seperate the peel from the flesh.


You can dice the avocados, or toss the quarters into your blender or food processor.


Add salsa, season with salt, then either blend, or mash with a fork.  Done!  How easy is that?

And here is an old family secret... do you know how to prevent your guacamole from turning brown?  Most people recommend adding an acidic agent like lime juice- which does help, and tastes good too, so feel free to do it.  But here's my method... just leave the pit in it!  Yeah, I know, too easy right?  But it does the trick every time!


Just stir the pit down into your guacamole and set it out to enjoy with chips, or even better, sliced veggies.  (Carrot sticks, sliced bell peppers, cucumbers, jicama... so many choices!)


Enjoy!

Saturday, October 27, 2012

Coconut Protein Smoothie


Have you seen these young coconuts, or baby coconuts in stores, but wondered what to do with them?  They are full of fresh coconut water, which is supposed to be great for you!  I am no nutritionist, but there is a lot of information online on the health benefits of coconut water and coconuts in general.  (I don't want to make any unfounded claims, but you can Google "Health Benefits of Coconut Water" to find dozens listed!)

I just know that they are delicious, and supposed to be good for you.  If you have not seen these fabulous little coconuts in your store, they are often sold in Health Food stores or Asia markets.  In my area, (Tacoma, WA) I have had good luck at H-Mark, Pal-Do World Market, and the East Asia Market.  You can also find them often at stores like Marlene's Market or Whole Foods, but they tend to be less expensive at Asian markets.  I usually pay around $0.99 to $1.49 per coconut.

Once you bring one of these babies home  though, what do you do with it?  That question has stopped many people from trying them!  Once you get the hang of getting them open, they are actually pretty easy.


The pointy end is the top, and this is where you will open it.  Lay it on it's side, and use a knife to shave off the husk left around the top.


Next, being very careful, use the heel of a large knife and tap around the top of the coconut until you find the spot where it open easily.  (Here is a good You Tube Video, if you are a visual learner- and no, that's not me, it's just a video I found online)

Once you find the right spot, the top should just pop open with a twist of your knife.


You can see, a good coconut is full to the brim with coconut water.  When choosing a coconut, choose one that feels heavy for it's size, and does not slosh.  If you can hear sloshing, it is not full, and may be old and dried up.  Also, if you see any purple discoloration, it means that the coconut is old.


Pour the coconut water into a blender.  You should get anywhere from 8-12 ounces of water from one young coconut.

Then using a spoon, scrape out the coconut meat, and add it to the blender as well.  The young coconut meat is soft, wet, and gelatinous, not firm and dry like that of a mature coconut.  You might not actually get much meat, but that is okay.  (Don't worry about a little brown skin from inside the coconut sticking to the meat- it's not a problem.)


You can blend coconut water and meat up with pretty much any smoothie you like, but here is my favorite recipe.

Coconut Protein Smoothie
1 baby coconut
pinch of salt
2 pitted dates
4 ice cubes

Optional Add-Ins
1 scoop protein powder (I like vanilla, but unflavored, or chocolate is also good.)
1 TBS chia seeds
Handful of spinach or kale

Add all the ingredients to a blender in the order listed.  In a Blendtec, select Smoothie or Ice Crush, or process in any other blender.


mmm... you can add lots of other ingredients, but I love the mellow flavor of the pure baby coconut.  And- as a side note- if you do use protein powder, be picky about what kid you get, I have tried many, and the wrong one can ruin any smoothie.  I love the Whole Foods Shake from Vitacost... it is affordable, delicious  and packed with vitamins and whole foods goodness!  Click below to check it out!


Friday, October 19, 2012

How to Cut Onions Without Crying


Do you love onions, but hate to cut them, because of the way they sting your eyes?  Here is a really quick tip... Cold onions don't sting nearly as bad!  Did you know that?  So- if you have the room, store onions in your fridge,  (I use one of the produce bins,) then just pull them out and go to chopping, hazmat suit not required.  If you don't have room in your fridge, stick an onion in the freezer for a few minutes before cutting it.

When you are ready to cut, slice of the stem end of the onion, but leave the root end in tact.  This gives you something to hold, keeps the onion from falling apart, and also helps with the stinging.


Then slice the onion in half, peel off the outer layer of skin, and holding the root end, slice or chop as needed.


Happy onion chopping!

Tuesday, October 16, 2012

How to Get the Seeds out of Pomegranates


YUM!  My box of produce this week came from Bountiful Baskets. (watch for a summary and review of Bountiful Baskets coming soon!)

Included in the box were two beautiful pomegranates- which I have a love/hate relationship with.  I love eating the pomegranate seeds, especially in salads, but I hate getting them out of the darned pomegranate!  Just as I was beginning to moan about having to do all that peeling and picking, I came across this post on the Blendtec website.  It sounded too good to be true... not peeling or picking involved!  So, I had to test it out for myself.


Alright, my pomegranate is cut in half, and I have my spoon and bowl of water ready to go...

I started whacking the back with my spoon- and the seeds are actually coming out!  It seems I have to whack it pretty hard, though.  (Harder than I would spank my toddler- but on a day she is misbehaving it might actually help relieve some of the frustrations, rather than adding to it, like having to pick out the seeds would!)


Look at that, it's actually working!


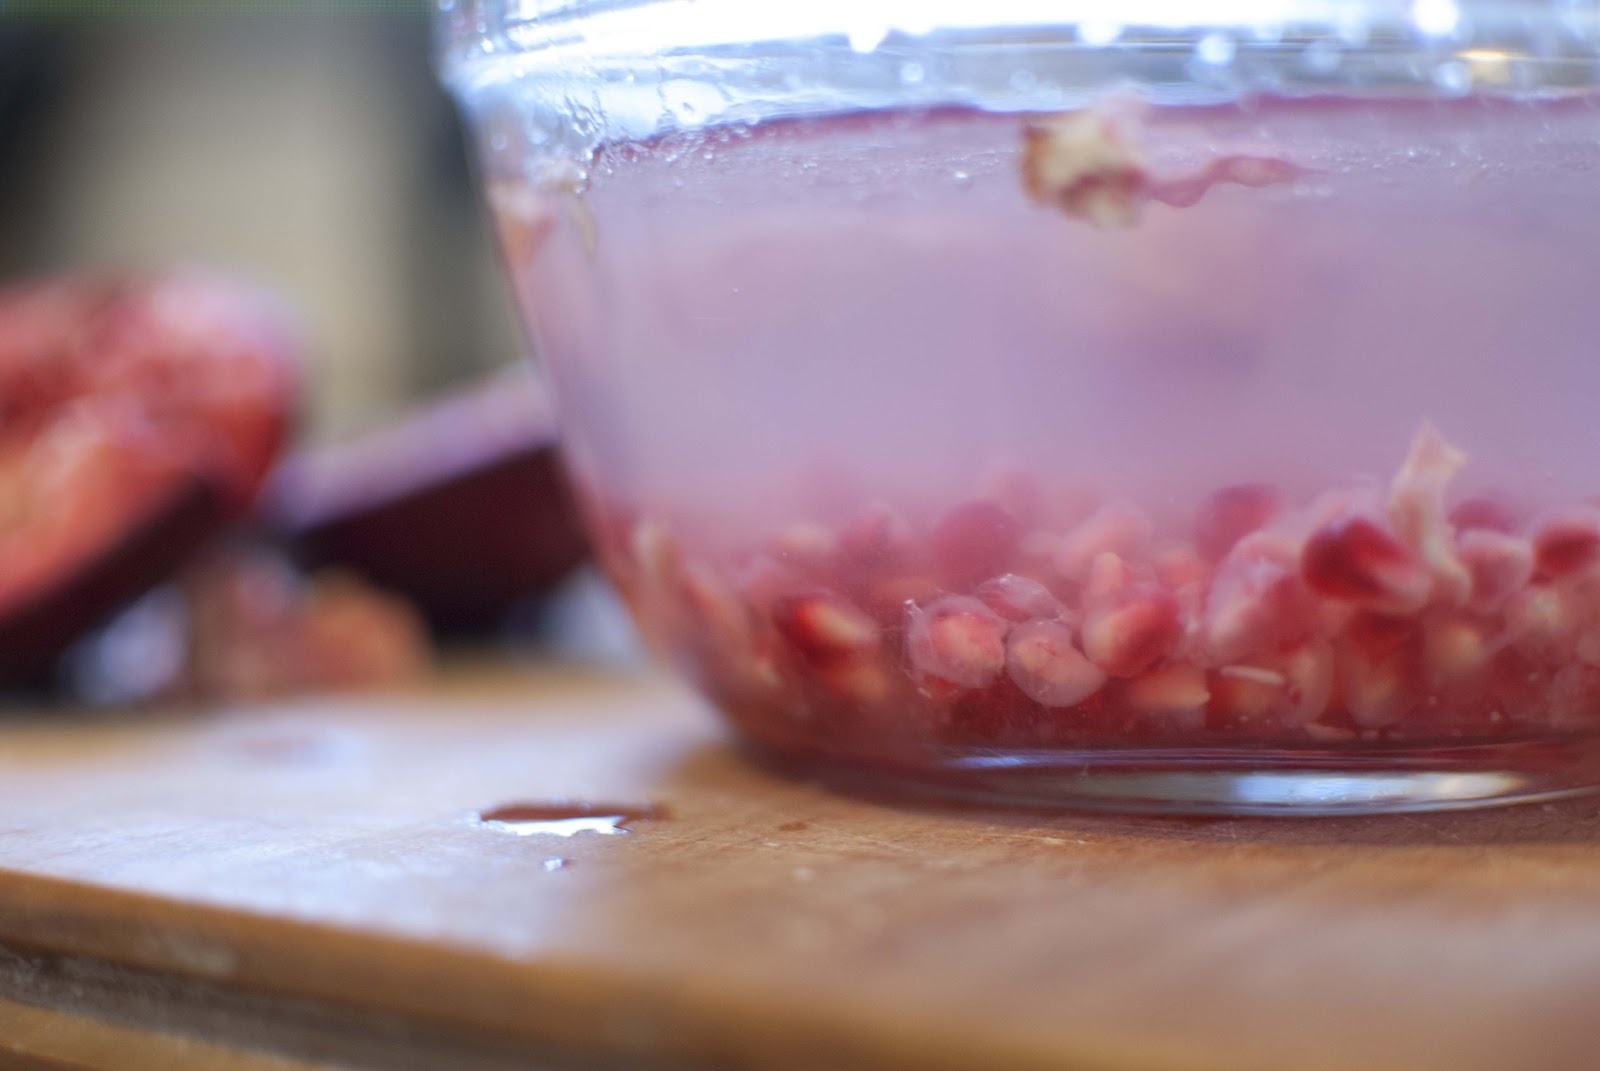
After about 2 minutes of whacking (not the the center, but working my way around) I had a bowl full of seeds!


You can see, there was not much left in the skin, I am actually shocked at how well this worked!


And here, a strainer full of yummy pomegranate seeds, cleaned and ready to eat!  That was easy, thanks Blendtec!

And just because she is so cute, a picture of my baby, enjoying the fruits of my labor...


Related Posts Plugin for WordPress, Blogger...
Get widget